Get a competitive head start in Dune: Awakening with this complete early game guide—best Base Locations, Class Combos, Gear Paths & Deep Desert tips. This guide will help you save much gaming time and show you how to survive in the deserts of Arakkis.
Speaking of the game itself, Dune: Awakening will be available to play on Steam starting at 16:00 CEST / 10:00 a.m. EDT on both June 5 (early access) and June 10, depending on your Edition. Pre-loading begins 24 hours before the Head Start on June 4 for all players who pre-ordered.
However, remember that only Deluxe and Collector’s Edition pre-orders include early access—the Standard Edition does not grant Head Start access.
https://www.youtube.com/watch?v=63gMIwsCJhM
Early Game Strategy and Foundations

Step 1: Set Up Your Base

At the start, focus on your main journey quest. When you land in Arrakis, you'll spawn in the southern part of South Hagga Basin. It might be tempting to head North and explore, but it's best to stay in the bottom-middle area first.
You have two choices: begin your journey quest and, when you reach the building stage, set up near the Imperial Testing Station №2 (just left of it) or by the outpost. The area near the testing station offers the best benefits. Keep following the journey quests, and eventually, one will lead you to the first trial—marked by a purple cave icon on the map.
Step 2: Progress the Journey Quest

This quest kicks off your main progression, unlocking key features in the game. You can do it anytime, and it’s easy—especially if you’re nearby. Early on, focus on gathering items like plant fibers to earn quick XP and skill points with minimal effort. Mining also gives XP, though less than collecting resources.
Exploration is another big XP source. Discovering areas and grabbing Intel points early will save you time later. Don’t rush—those who do often have to backtrack to collect what they missed.
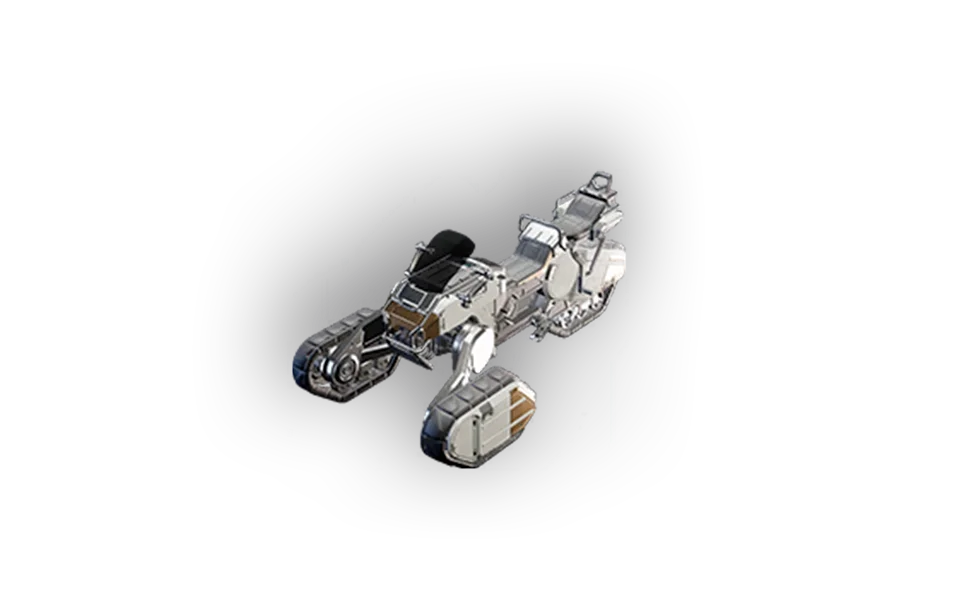
Once you reach the purple cave, you can complete the first trial right away. This unlocks key journey progression and building quests, helping you get the Sand Bike faster for easier exploration. If possible, clear the southern outposts early too.
Step 3: Clear Outposts & Unlock Trooper Skill Tree

Whether you build near the purple cave or the Imperial Testing Station №2, try to clear all eight South Hagga Basin outposts early. This gives you 800 XP and 24 Intel points, boosting your early power. Clear the four main outposts, then work clockwise to grab contracts, XP, and unlock the Trooper skill tree.
Afterward, head to the Imperial Testing Station. Talk to Derek Shinara, the Planetologist trainer, or skip straight to the station—you can still collect the quest item without speaking to him first. While inside, grab the hidden item for his quest and the Emperor’s Wings MK1 blueprint.
Step 4: Craft the Sand Bike & Unlock Planetologist Skill Tree

The Emperor’s Wings MK1 blueprint makes exploration easier, so be sure to grab it along with all needed Sand Bike parts to avoid backtracking. After leaving the Imperial Testing Station №2, return to your nearby base, drop off items, continue any build quests, and complete the Planetologist quest to unlock its skill tree.
Next, a quest will send you to the green shipwreck. Complete it to unlock and craft your automatic weapon. With most materials in hand, you can also finish your build quests and craft the Sand Bike.
Make sure the Trooper quest is started. Then head to the top-right of South Hagga Basin to complete it and nearby outposts in one trip. Return to the outpost to turn in everything—finishing South Hagga Basin completely.
Step 5: Upgrade Sand Bike Inventory & Build Advanced Sub-Fief

Next, you’ll head toward the Vermillius Gap. Before going, complete the Scrap Metal Bikequest—it rewards you with a Sand Bike inventory or booster. Choose the inventory, as you'll need it to carry key items like EMF generators and building materials, North.
Load up your essentials, make sure you can build the Advanced Sub-Fief, and head North. Build it at the shortest crossing point to reach Vermilius Gap efficiently.
Step 6: Build Your Northern Base & Gear Up

Once you head North, build your base either to the left of the main mountain (central access) or in the top-left of West Vermilius Gap (closer to late-game areas). Drop a small base quickly to avoid losing everything to sandstorms, then expand from there.
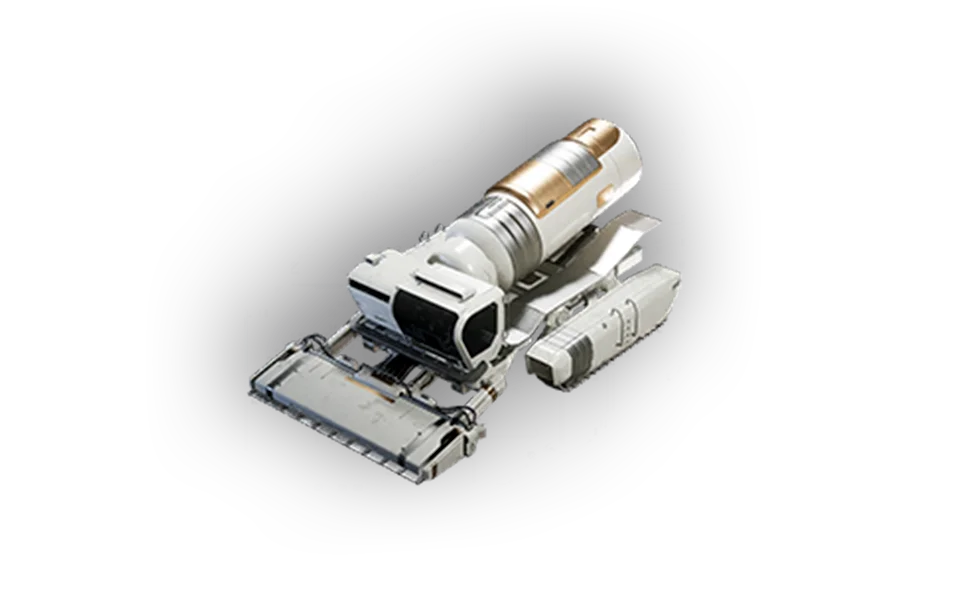
Next, take your Solari and Sand Bike to the outpost or anvil in East Vermilius Gap. Buy key gear: the MK2 Cut Array (for mining iron), Dew Reaper (for water collection), and MK2 Blood Extractor (for efficient blood-to-water conversion). These tools will save you early on before you can research them. Also, start any available contracts or missions at the Anvil.
Step 7: Complete Trials 2, 3 & 4 and Clear Outposts

After setting up your base, head straight south to complete the Act 2 trial to progress the story. Clear nearby outposts while you're there. Then complete Trials 3 and 4 in the middle mountain area, clearing nearby outposts along the way to save time later.
Once Trial 4 is done, clear the central outposts, then move west to clear more outposts and imperial testing stations. Offload loot at your base as needed and keep completing quests and contracts for XP and faction progress.
Step 8: Keep Questing & Build MK2 Sandbike
Return to the Anvil when ready to turn in contracts, then clear the top-right outpost in EastVermilius Gap. You’ll eventually get a quest leading to the bottom-right section. If you've cleared both imperial testing stations by now, you should have what you need to craft the MK2 Sandbike — go ahead and build it.
Class Guide Overview

Curious about which class to choose in Dune Awakening? This beginner’s guide breaks down the four main classes, their strengths, and how progression works.
At the start, your class choice mainly determines your early skills. However, over time, you can learn abilities from other classes by unlocking trainers and completing quests. You’re limited by skill points, but you can switch active and passive abilities anytime and reset them every 48 hours.
The 4 Main Classes:
Bene Gesserit Alk’alut: Tactical Melee
A magic-based melee fighter using daggers and the Voice for crowd control. Talent trees focus on dagger combat, control abilities, and body enhancements like poison resistance. Great for early-game utility and mobility.
Swordmaster: Aggressive Frontliner
A classic melee warrior using swords, jump attacks, and stamina buffs. Known for fast gap-closing abilities and high melee damage. Strong in close combat but less mobile than the Alk'alut.
Trooper: Ranged Versatile Fighter
The first ranged specialist using firearms, grenades, and heavy weapons. Talent trees offer airborne attacks, tactical resistances, and explosive damage. Plays like a traditional soldier and is easy to pick up early on (trainer is found quickly in the starting area).
Mentat: Debuff & Disruptor
A gadget-focused long-range tactician. Uses turrets, poison, mines, and energy shields. Ideal for players who prefer a defensive or strategic play style.
Bonus: Planetologist Class

Unlocked after the intro, the Planetologist grants bonuses for resource gathering, research, and vehicle management.
Combat & Equipment
https://www.youtube.com/watch?v=btm3QeWd1LEAll classes use the same resource system: Hydration (Blue), Stamina (green), Health (red), and Energy (yellow). Armor types (light, Heavy, stillsuit) affectDefense and Water management. Any class can use any weapon, but they gain bonuses for class-specific ones (e.g., Swordmaster with swords).
Classes can adapt to various roles with time, since all skills can be learned. For example, a Mentat can eventually learn Swordmaster jumps or the Voice from the Alk'alut.
Survival Elements of the Game

Heat & Sunstroke

The sun on Arrakis is deadly. When your sunstroke meter fills, you lose hydration fast, then health. Always seek shade before it maxes out. Travel during cooler hours and use vehicles like buggies or ornithopters for sun protection—even sand bikes help a bit.
Hydration Management
Early on, hydration comes from dewflowers—limited and low-yield. Later, extract blood from enemies to convert into purified water at your base.
Craft cisterns to store water and portable containers (like the Literjon—check Haga Basin South for a better one). Once you unlock the scythe in Vermilius Gap, you can harvest dew more efficiently—only at night, ideally before dawn.
Eco labs and outposts often have refill stations, too.
Sandstorms

These are dangerous, especially outside your base. You’ll get a 2-minute warning before one hits. Seek shelter in caves, enemy camps, or even behind large rocks. Check your shelter status via the HUD or by pressing T. Vehicles and unprotected buildings can be damaged, so keep generators powered to maintain shields.
Sandworms

Leave solid ground, and sandworms can find you. The worm meter shows threat level—red means imminent danger. If caught, you lose everything. Use thumpers later in the game to distract worms while farming spice. For now, just run.
Other Hazards
- Drum Sand in Vermilius Gapp mimics thumper vibrations—avoid it.
- Radiation, quicksand, and traps become more common later.
- Sardaukar patrol ships appear at night—avoid their searchlights or face a deadly ambush.
Gear & Skills
Upgrade from your starter gear ASAP. Complete Aql first trial to unlock the Stillsuit. Explore outposts, shipwrecks, and complete contracts for rewards.
Some classes like the Bene Gesserit and Planetologist have passives that help reduce sunstroke or boost hydration.
Understand the Deep Desert

General Mechanics
- The Deep Desert (DD) is divided into a 3×3 grid (9 total zones).
- Up to 100 players per zone, but only 300 players total in DD at once due to the southern entry bottleneck.
- No queue system — if a zone is full, players will hit a shield wall and cannot enter.
- Devs may use sandstorms or other events to push players out of crowded zones.
- The cap is temporary and may increase post-launch.
Building & Economy
- All building materials and machinery cost 50% less in DD compared to the Haga Basin.
- This allows players to build more spice refineries and infrastructure efficiently.
- Bases are constructed using the blueprint system.
Spice Harvesting

The Advanced Cut Array is a two-seat vehicle designed for spice extraction, allowing one player to drive while another operates the harvester. This setup significantly improves efficiency, collecting nearly three times more spice than traditional handheld tools.
Spice Blooms are large spice nodes that can be seen clearly from the air. However, approaching them requires the use of air units such as ornithopters, as ground vehicles like bikes or tanks will trigger deadly sandworm attacks. Players can also intercept and steal spice harvesters from enemies by deploying carrier ornithopters.
When it comes to harvest tactics, the process begins with deploying a spice harvester from the air. A teammate then rides a bike across the area, placing thumpers to distract smaller worms during the harvesting process. After approximately two to three minutes, the enormous and dangerous Grandfather Worm arrives, signaling that it’s time to extract the harvester and flee the area.
PvP Types
Two distinct combat styles:
- Ground PvP — King-of-the-Hill objectives for Landsraad missions.
- Air PvP — Controlling spice blooms, intercepting enemy dropships.
Players must coordinate air/ground teams for maximum efficiency.
Points of Interest

Each cell in the Deep Desert—such as zone A1—can include a variety of strategic and valuable locations. These may consist of up to two large spice blooms, two caves, one science-related point of interest, and crash sites that contain useful loot and materials.
Across all nine Deep Desert zones, players can expect a total of around 81 to 160 science labs, depending on the random layout of each instance. The layout and contents of these cells are procedurally generated, meaning every instance of the Deep Desert will offer a unique exploration and gameplay experience.
Meta Systems & Progression

- Taxes are paid via social hubs in towns — accessible from early game.
- Players can fly to trade hubs using paid services from cities like Anvil.
- Landsraad system:
- Weekly PvE/PvP contracts (e.g. hold points, kill NPCs, deliver resources).
- Grid-based "Connect 5" mechanic — holding 5 linked missions grants control.
- Missions often center on DD objectives like defending zones or delivering spice.
Learn The Economy & Crafting

Research & Crafting Basics:
Early in the game, players unlock recipes via the research tab — such as makeshift clothes, binoculars, and weapons. Most items can be crafted directly from inventory if you have basic materials like plant fiber and salvaged metal.
Essential Survival Gear:
Basic items like water, clothing, and tools can always be crafted from materials found in the starting areas.
Advanced Crafting with Fabricators:
A 3D printer-like station lets you craft more advanced gear. For example, he crafts a Kindjal (close-combat blade) using refined resources like copper ingots, and Plant fiber.
Gear Progression:
After crafting the blade, he proceeds to make a full scavenger armor set (boots, pants, gloves, chest, and hood). The items are visible in real-time as they’re assembled in the fabricator.
Schematics & Special Items:
Unique gear like Kallef’s Drinker (a rare knife) can be found or unlocked via schematics in the world. Once researched, they become available in your crafting menu.
Weapon Upgrade:
He replaces a pistol with a newly crafted rifle, showing off the ability to switch and equip better weapons on the go.
Participate in Faction Meta

Landsraad - involves competing for influence by completing goals for various Great Houses in the deep desert. These goals often involve spice production or holding control points, and they reward points and valuable items.
Winning grants you powerful decrees like 25% crafting cost reduction, 33% increased ranged weapon damage, and access to special weapon vendors. Each House offers unique rewards such as armor skins, weapons, materials, and useful gear like improved harvest tools and advanced machinery.
To gain influence, you deliver resources or hold points, and as your faction hits milestones, you earn Solari and cool gear. The voting system works like Connect 5, where you secure House votes by meeting their requirements either horizontally, vertically, or diagonally on the board.
You can reveal vote requirements by talking to House reps around towns or remote areas, and contributing guild members increase your voting power and get rewards.
You need a guild and faction alignment to participate, with a current max of 32 guilds. That’sLandsraad in a nutshell! If you want more details, feel free to ask.
Check out our top Dune Awakening boosting services
 popular
from$29.00 Dune Awakening
Base Building
- Best locations
- Fast execution
- Resources included

from$2.50 Dune Awakening
Armor
- Meta Armor Sets
- Faction Bonuses
- Full Set Ready
- popular

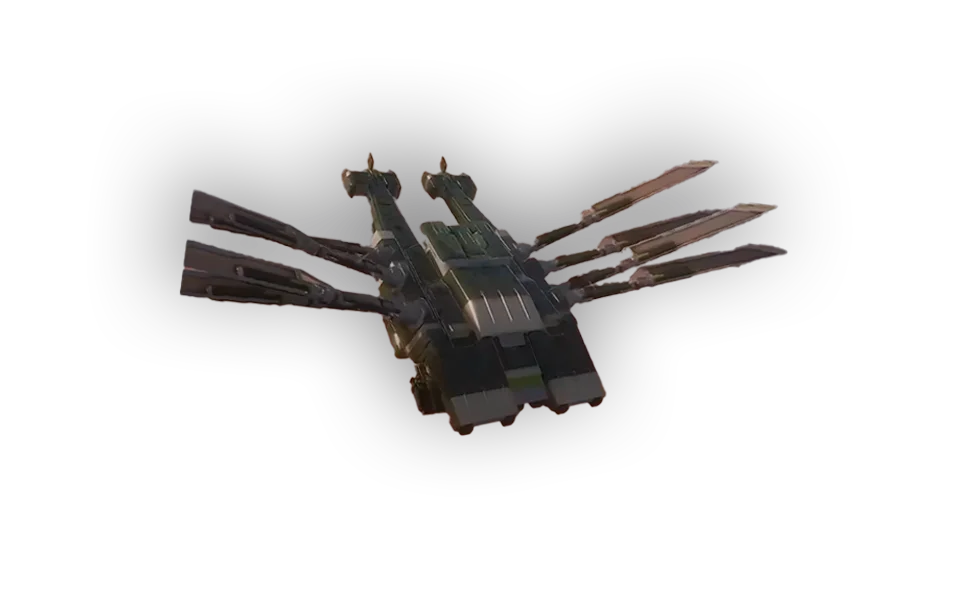
from$33.00 Dune Awakening
Assault Ornithopter
- All Classes Available
- MK5-MK6 Available
- Express Option Available
- popular

from$9.00 Dune Awakening
Blood sacks
- Bio container
- Combat loot
- Medical supply
- popular

from$4.99 Dune Awakening
Buggy MK3
- Fast ride
- All-terrain
- Compact frame
- popular

from$14.99 Dune Awakening
Buggy MK4
- Fast ride
- All-terrain
- Compact frame
- popular
from$14.90 Dune Awakening
Buggy MK5
- Fast ride
- All-terrain
- Compact frame
- popular

from$17.60 Dune Awakening
Buggy MK6
- Fast ride
- All-terrain
- Compact frame
- popular
from$49.00 Dune Awakening
Carrier Ornithopter
- All Classes Available
- MK4-MK6 Available
- Express Option Available
- popular
from$10.00 Dune Awakening
Cutterays
- Resource tool
- Laser cutter
- Mining aid
- popular

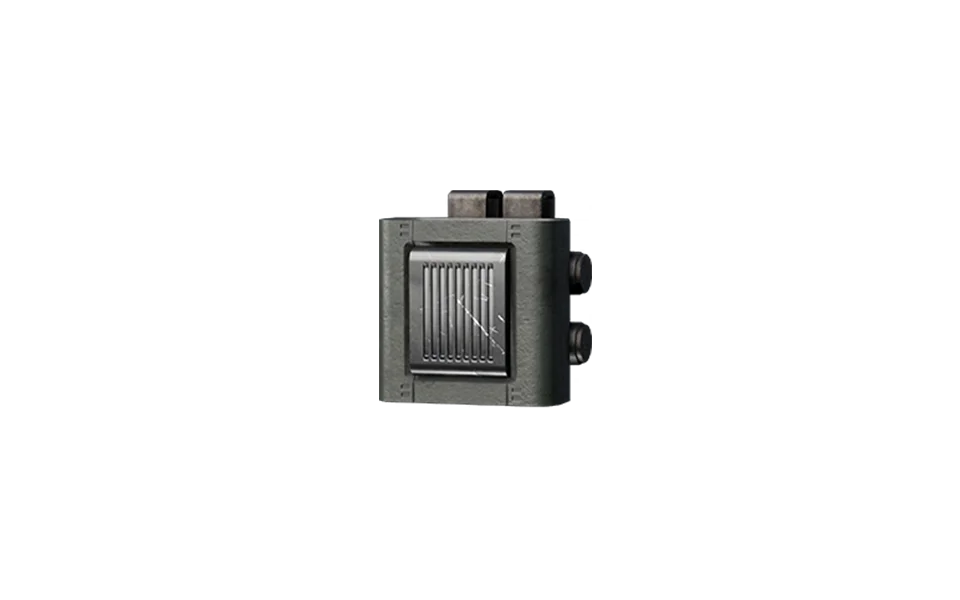
from$5.00 Dune Awakening
Dew reaper
- Moisture tool
- Desert farming
- Water collector
- popular

from$49.00 Dune Awakening
Dew scythe
- Water farming
- Efficient blade
- Desert tool
- popular

from$49.00 Dune Awakening
Literjon
- Water storage
- Essential gear
- Survival item
- popular
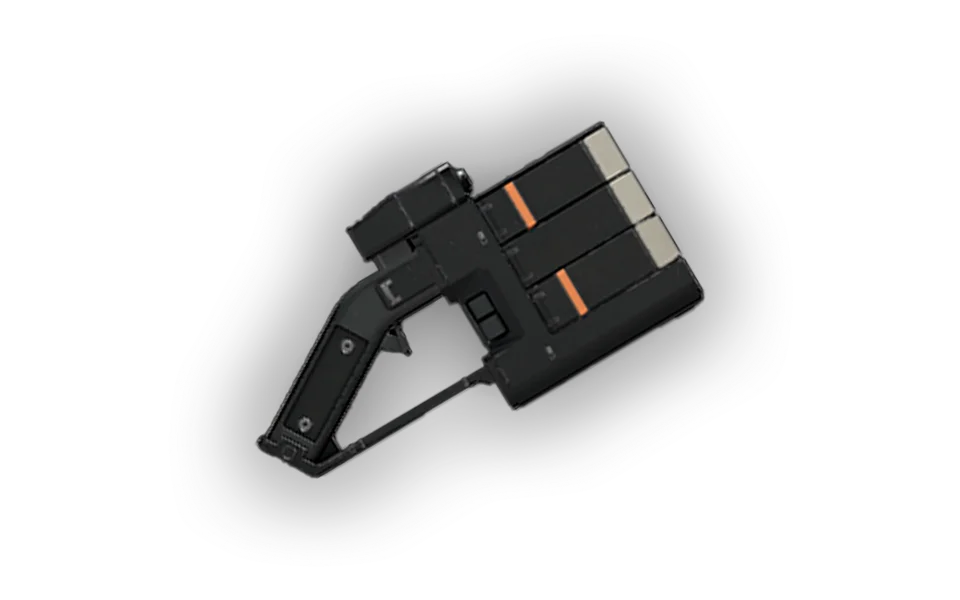
from$9.00 Dune Awakening
Power pack
- Energy reserve
- Recharge gear
- Support unit
- popular
from$3.90 Dune Awakening
Sandbike
- Desert speed
- Light build
- Rapid transport
- popular
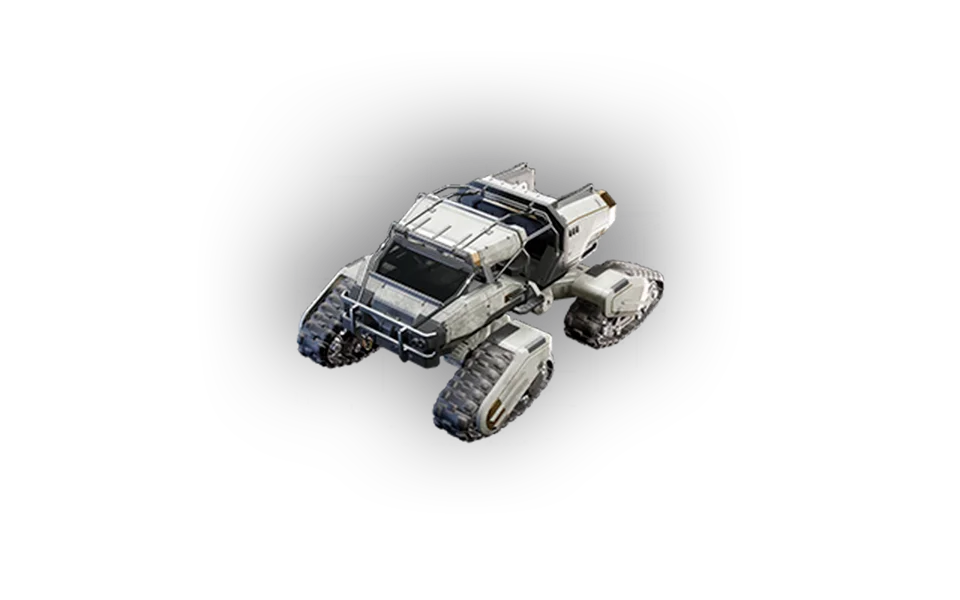
from$79.00 Dune Awakening
Sandcrawler
- Heavy duty
- Mining use
- Large capacity
- popular

from$4.90 Dune Awakening
Scout Ornithopter
- All Classes Available
- MK4-MK6 Available
- Express Option Available
- popular

from$1.39 Dune Awakening
Spice Melange
- Combat buff
- Spice effect
- Boosted senses
- popular

from$35.97 Dune Awakening
Awakening Treadwheel
- All Classes Available
- MK4-MK6 Available
- Express Option Available
- popular

from$4.99 Dune Awakening
Water
- Vital resource
- Desert must
- Craft & survive
- popular

from$100.00 Dune Awakening
Journey Completion
- Chapter-by-chapter help
- Fast execution
- Optional resource bundles
 leveling
from$1.29 Dune Awakening
Power Leveling
- Fast Power Leveling
- Quest-Based Progression
- Scaling Difficulty Pricing
- rank boost

from$19.00 Dune Awakening
Reputation Boost
- Faction standing boost
- Choose any major faction
- Level-based pricing
- popular

from$1.00 Dune Awakening
Resources Farm
- Any resource type
- Up to 10,000 units
- Fast farming execution
- popular

from$19.00 Dune Awakening
Trainers Unlock
- All Classes Available
- Basic & Advanced
- Bundle Options
Quick Tips for Beginners
Trading & Crafting:
- Visit trading posts to trade recipes (schematics) like the Literjon, which stores 1500 water.
- Each schematic allows you to craft that item once. If lost (e.g., sandworm death), you’ll need another schematic to craft it again.
Nighttime Advantage:
- Night is long and uses less water due to cooler temps.
- Use a sickle at night to harvest water plants—way more efficient than blood harvesting.
Important Craftables:
- Dew Reaper MK2: Use iron, EMF generator, and silicone at a general fabricator.
- Vehicle Backup Tool: Lets you pick up and redeploy small vehicles like bikes—great during sandstorms.
Vehicle Tips:
- Vehicles decay faster outside — always park indoors or in outpost garages.
- Use a welding torch + welding wire to repair them. You can also repaint and swap parts.
- You can own up to 10 vehicles with the backup tool.
Base Building:
- Keep your first base small and practical — you’ll abandon it later.
- You can reclaim it, but the game encourages moving forward.
- Seal your base (roof + walls) to get the “Water Sealed” buff and conserve water.
Avoiding Night Dangers:
- Avoid spotlight ships—they stun you and spawn enemies.
- If caught in the light, escape fast or find shelter.
Building Tips:
- Press R to switch build sets (e.g., lighting, furniture).
- Each base allows: 30 lights, 75 storage, 350 decorations, 10projections, etc.
- Lights use only scrap metal and no power (as of now).
Solari (Currency):
- Store Solari in your base to avoid dropping it on death.
- Bases are safe from PvP.
- You can bank Solari and transfer it to friends.
- Taxes apply in the full release (weekly/bi-weekly).
XP & Skill Tree:
- Earn XP by doing journeys and killing enemies.
- You can respec your skill tree every 48 hours.
- Trainers allow you to switch classes later in-game.


